Introduction

Welcome to my no-bake raspberry pie recipe guide! I’m excited to share this delightful dessert that always brings joy to my kitchen. The vibrant color and sweet-tart flavor of raspberries make this pie a favorite in my household, especially during the warmer months. I remember the first time I made this pie for a family gathering; it was a hit, and now it’s a go-to dessert whenever I want to impress my guests or simply treat myself.
Now, let’s dive into why you’ll love this no-bake raspberry pie. I make this when I crave a refreshing and easy-to-make dessert that doesn’t require turning on the oven. My family goes crazy for this pie because it’s bursting with fresh raspberry flavor and has the perfect balance of sweetness and tanginess. Plus, the simplicity of the recipe means I can whip it up in no time, making it ideal for busy days or last-minute gatherings.
When it comes to the ingredients, feel free to get creative. I sometimes use frozen raspberries if fresh ones are not in season, and it works just as well. If you prefer a sweeter pie, you can add a bit more sugar, or if you’re watching your sugar intake, a natural sweetener like honey or maple syrup can be a great alternative.
Now, let’s move on to the directions. Don’t worry if this is your first time making a pie; I’ll guide you through each step. This is where I usually sneak a taste of the raspberry filling because it’s just too irresistible. Remember, baking is all about having fun in the kitchen, so don’t stress if your pie doesn’t look picture-perfect at every stage—it will still taste amazing!
Recipe Directions

Start by preparing the crust. Crush your favorite cookies (graham crackers work well) and mix them with melted butter. Press this mixture into a pie dish to form the crust. This is the part where I usually make a mess, but hey, messy kitchens are the sign of a good cook, right?
Next, it’s time to make the raspberry filling. Blend fresh raspberries with sugar and a squeeze of lemon juice until smooth. You can strain the mixture if you prefer a smoother texture. I like to add a splash of vanilla extract here for an extra layer of flavor. Taste the filling and adjust the sweetness if needed—cooking is all about tasting and adjusting as you go!
Pour the raspberry filling into the prepared crust and refrigerate the pie for a few hours to set. This is the hardest part for me—waiting for it to chill. I always sneak a peek in the fridge, hoping it magically sets faster, but patience is key here.
Once the pie is set, you can top it with fresh raspberries, whipped cream, or a dusting of powdered sugar. Get creative with the toppings; this is your chance to make the pie your own masterpiece. I love adding a dollop of whipped cream and a few extra raspberries for a fresh and visually appealing finish.
Notes and Variations
Through my trial and error, I’ve discovered that adding a bit of cornstarch to the raspberry filling can help thicken it up if it’s too runny. However, don’t worry if it’s a bit loose; it will still taste delicious. Remember, imperfections add character to homemade desserts!
As for variations, I once tried adding a layer of chocolate ganache at the bottom of the crust before pouring in the raspberry filling. It sounded like a great idea, but the flavors didn’t quite complement each other as I expected. It’s all about experimenting and finding what works best for your taste buds.
If you don’t have a pie dish, don’t fret. You can use a springform pan or even individual tart pans to create mini raspberry pies. Cooking is all about adapting to what you have in your kitchen, so feel free to get creative with the tools you use.
Storage information: Though honestly, in my house, this pie never lasts more than a day! But if you have leftovers, cover the pie with plastic wrap and store it in the refrigerator. It’s best enjoyed within a day or two to savor the freshness of the raspberries.
Serving Suggestions and Pro Tips
When serving the raspberry pie, I recommend letting it sit at room temperature for a few minutes before slicing. This allows the filling to soften slightly, making it easier to cut clean slices. I think this pie tastes even better the next day after the flavors have had time to meld together.
Pro tip: I once tried rushing the chilling step by placing the pie in the freezer to speed up the process. Believe me, it’s worth the wait to let it chill in the refrigerator. The texture and flavors develop better when given ample time to set.
Now, let me answer a common question I receive: Can I use frozen raspberries for this pie? Absolutely! Frozen raspberries work well in this recipe, especially when fresh ones are not readily available. Just make sure to thaw and drain them before blending for the filling.
But remember, the key to a great no-bake raspberry pie is to have fun in the kitchen. Experiment with different toppings, try new flavor combinations, and don’t be afraid to make mistakes. After all, cooking is a delicious journey of discovery!
No-Bake Raspberry Pie
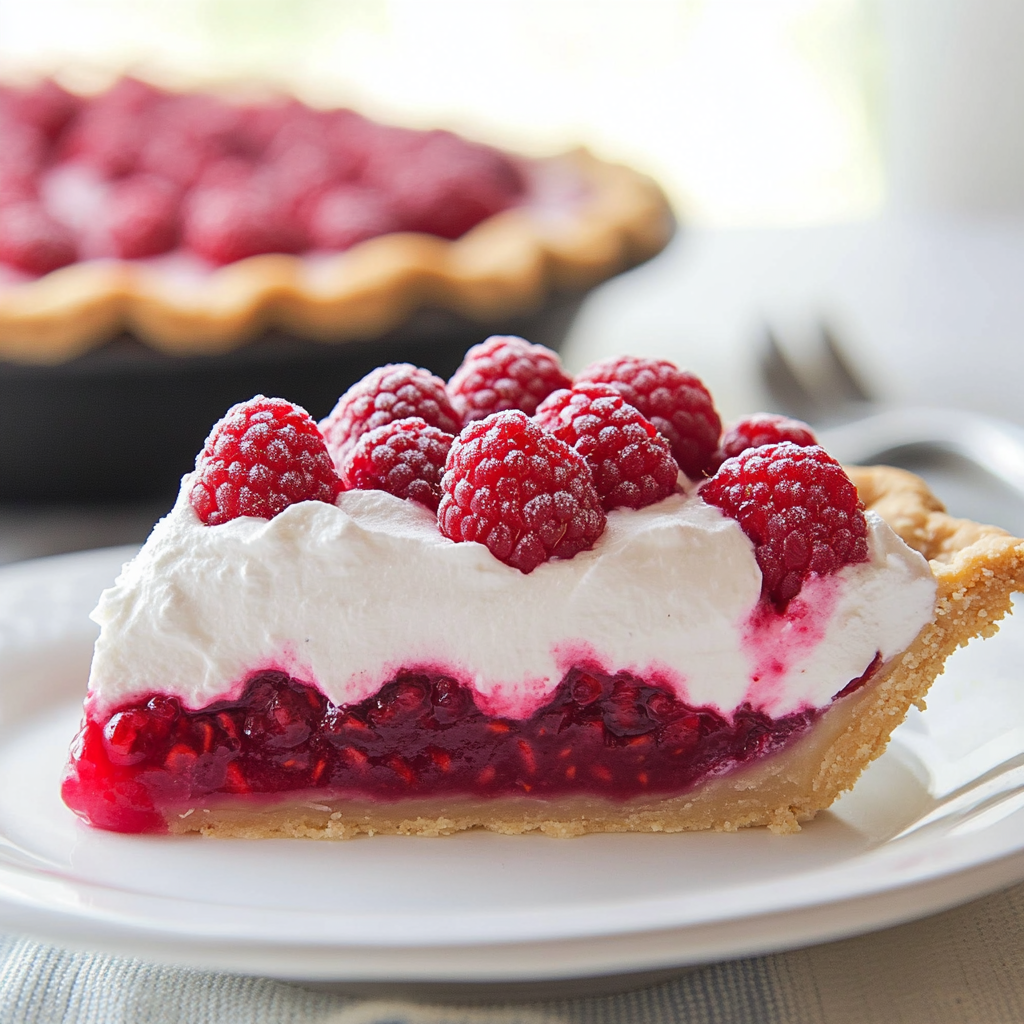
A delightful dessert featuring a vibrant and refreshing raspberry filling in a crumbly crust, perfect for warm weather enjoyment. This no-bake pie is bursting with fresh raspberry flavor and offers a balance of sweetness and tanginess.
Ingredients
- 2 cups graham cracker crumbs
- 1/2 cup melted butter
- 4 cups fresh raspberries
- 1/2 cup sugar
- 1 tablespoon lemon juice
- 1 teaspoon vanilla extract
- Fresh raspberries and whipped cream for topping
Directions
-
Prepare the crust by mixing graham cracker crumbs with melted butter. Press the mixture into a pie dish to form the crust.
-
Blend fresh raspberries, sugar, lemon juice, and vanilla extract until smooth. Adjust sweetness if needed.
-
Pour the raspberry filling into the prepared crust and refrigerate for a few hours to set.
-
Top the chilled pie with fresh raspberries, whipped cream, or powdered sugar before serving.