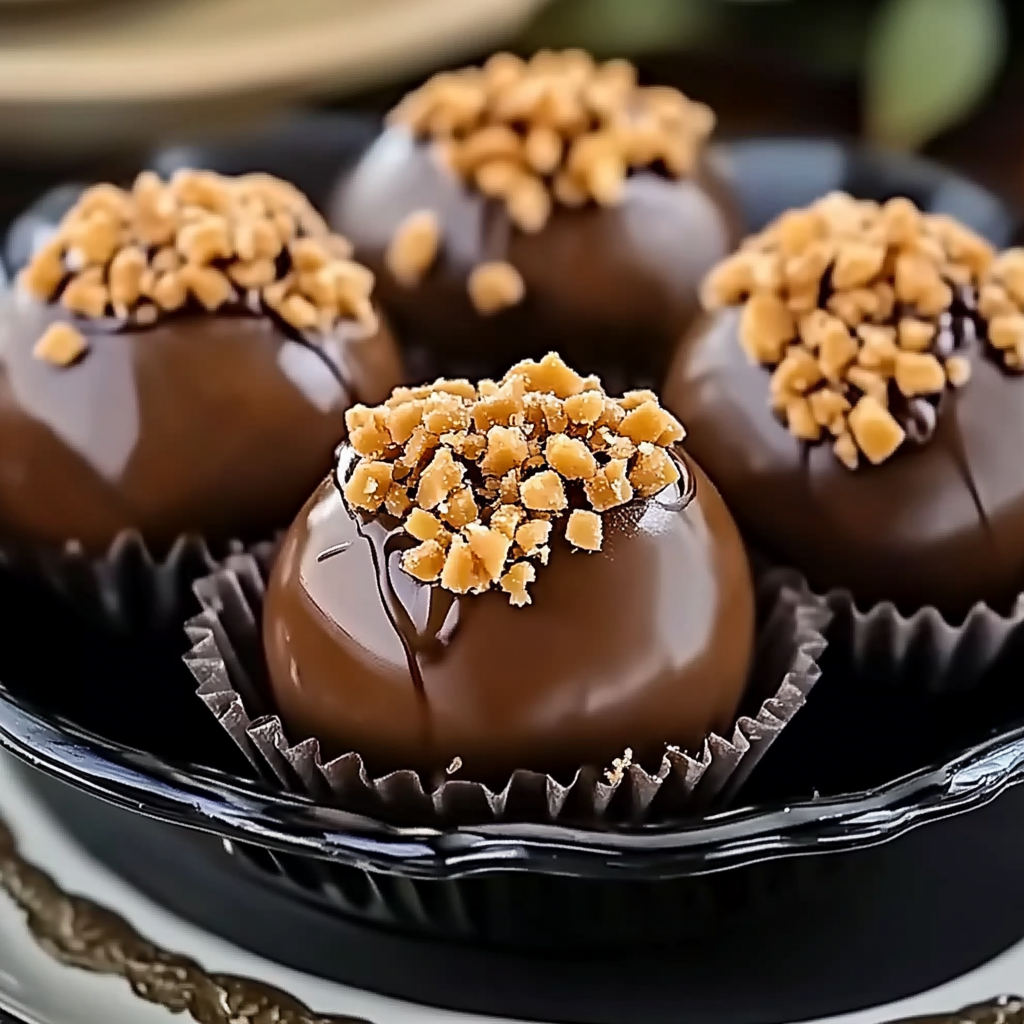
Butterfinger Balls Recipe: The Sweet Treat You’ll Crave Again and Again
Hey there, fellow dessert lover! Today, I want to share with you a recipe that will satisfy your sweet tooth like no other. Introducing the irresistible Butterfinger Balls! These bite-sized treats are a delightful combination of creamy peanut butter, crunchy Butterfinger candy, and rich chocolate. Whether you’re indulging in them as a special treat for yourself or preparing them for a gathering, these Butterfinger Balls are guaranteed to be a crowd-pleaser.
Why You’ll Love This
I make these delectable Butterfinger Balls whenever I need a quick and easy dessert that never fails to impress. My family goes crazy for them because they are incredibly addictive! Just one bite and you’ll understand why. Plus, they require only a handful of ingredients, most of which you probably already have in your pantry. So, let’s get started!
Ingredients:
For this recipe, you’ll need:
- 1 cup creamy peanut butter
- 1 cup crushed Butterfinger candy bars
- 1/2 cup powdered sugar
- 1/4 cup unsalted butter, softened
- 1 cup chocolate chips (milk or dark, your choice!)
Optional: If you don’t have Butterfinger candy bars on hand, you can substitute them with any other crunchy chocolate candy you love. I sometimes use crushed Kit Kat bars or even chopped peanuts for a different twist. Get creative and make it your own!
Directions:
1. In a large bowl, combine the creamy peanut butter, crushed Butterfinger candy bars, powdered sugar, and softened butter. Mix everything together until well combined. This is where I usually sneak a taste because it’s just too tempting!
2. Roll the mixture into small balls, about 1 inch in diameter. Place them on a baking sheet lined with parchment paper. Don’t worry if the mixture seems a bit sticky; chilling it in the refrigerator for 15-20 minutes will make it easier to work with.
3. Once the balls are formed, pop them into the refrigerator for about 30 minutes to firm up.
4. While the balls are chilling, melt the chocolate chips in a microwave-safe bowl. Heat them in 30-second intervals, stirring in between, until smooth and melted. Be careful not to overheat the chocolate.
5. Take the chilled balls out of the refrigerator and dip each one into the melted chocolate, ensuring they are completely coated. Use a fork to lift them out, allowing any excess chocolate to drip off. Place them back on the parchment-lined baking sheet.
6. After coating all the balls, return them to the refrigerator to allow the chocolate to set. This usually takes about 1 hour. Once they are firm, they are ready to be devoured!
Notes:
These Butterfinger Balls are best stored in an airtight container in the refrigerator. Though honestly, in my house, they never last more than a day! They can also be frozen for longer storage. Just make sure to thaw them in the refrigerator before serving.
Variations:
Feel free to experiment with different variations of this recipe! One variation I’ve tried is adding a tablespoon of cocoa powder to the mixture for an extra chocolatey kick. However, I found that it made the balls a bit too rich for my taste. But hey, you might love it!
Equipment:
If you don’t have a microwave for melting the chocolate chips, don’t worry! You can easily melt them using a double boiler on the stovetop. Simply fill a saucepan with water and place a heatproof bowl on top, ensuring it doesn’t touch the water. Heat the water to a simmer and stir the chocolate chips in the bowl until melted.
Serving Suggestions:
These Butterfinger Balls are fantastic on their own, but if you want to take them to the next level, try serving them with a scoop of vanilla ice cream and a drizzle of warm chocolate sauce. It’s pure bliss!
Pro Tips:
I’ve learned a few lessons from my past mistakes while making these Butterfinger Balls. One time, I tried rushing the chilling process, and the balls ended up losing their shape in the melted chocolate. So, be patient and allow them to firm up properly in the refrigerator. Trust me, it’s worth the wait!
FAQ:
Q: Can I use crunchy peanut butter instead of creamy?
A: Absolutely! If you prefer a little extra crunch in your Butterfinger Balls, go ahead and use crunchy peanut butter. The texture will be slightly different, but the taste will still be fantastic!
Q: Can I use white chocolate instead of milk or dark chocolate?
A: Of course! If you’re a fan of white chocolate, feel free to substitute it in this recipe. The result will be a sweeter and creamier version of the Butterfinger Balls. Yum!
Q: Can I make these in advance for a party?
A: Definitely! These Butterfinger Balls can be made a day or two in advance. Just make sure to store them properly in the refrigerator to maintain their freshness.
So there you have it, my friend! A simple yet utterly delightful recipe for Butterfinger Balls. I hope you enjoy making and devouring these addictive treats as much as I do. Remember to have fun in the kitchen and let your creativity shine through. Happy baking!
Butterfinger Balls Recipe: The Sweet Treat You’ll Crave Again and Again
Irresistible bite-sized treats made with creamy peanut butter, Butterfinger candy bars, and chocolate. Guaranteed to satisfy your sweet cravings!
Ingredients
- 1 cup creamy peanut butter
- 1 cup crushed Butterfinger candy bars
- 1/2 cup powdered sugar
- 1/4 cup unsalted butter, softened
- 1 cup chocolate chips (milk or dark)
Directions
-
In a large bowl, combine peanut butter, crushed Butterfinger candy bars, powdered sugar, and softened butter. Mix until well combined.
-
Roll the mixture into 1-inch balls and place on a baking sheet lined with parchment paper. Chill in the refrigerator for 15-20 minutes.
-
Chill the balls for 30 minutes to firm up.
-
Melt the chocolate chips in a microwave-safe bowl in 30-second intervals until smooth.
-
Dip each chilled ball into the melted chocolate, ensuring they are fully coated. Place back on the baking sheet.
-
Chill the coated balls for about 1 hour until the chocolate sets. Enjoy!