Introduction
Hey there, fellow food enthusiast! Today, I’m excited to share with you my take on making Homemade Chicken Nuggets. This dish holds a special place in my heart as it reminds me of lazy Sundays spent in the kitchen with my family, creating delicious memories one nugget at a time. So, grab your apron and let’s dive into this crispy, flavorful adventure!
If you’re anything like me, you probably adore the crispy exterior and juicy goodness of a well-made chicken nugget. The {recipe name} is a crowd-pleaser in my household, and I can’t wait to walk you through the process of creating your own batch of golden perfection. Get ready to elevate your nugget game and impress your loved ones with this homemade delight!
Now, let’s talk chicken nuggets. These little bites of heaven are not just for kids—they’re for the young at heart too! Whether you’re hosting a casual get-together, a family movie night, or simply craving a comforting snack, these Homemade Chicken Nuggets are sure to hit the spot. So, why wait? Let’s get cooking!
Before we jump into the nitty-gritty of the recipe, let me assure you that making chicken nuggets from scratch is easier than you might think. With a few simple ingredients and some tender loving care, you’ll be on your way to crispy, flavorful nuggets that will rival any fast-food joint. So, without further ado, let’s roll up our sleeves and start cooking!
Why You’ll Love This
I make this when I’m craving a nostalgic bite that transports me back to my childhood. The crispy coating and tender chicken inside never fail to put a smile on my face. My family goes crazy for this because it’s a fun and interactive dish to make together. Plus, who can resist the satisfaction of creating your own nuggets from scratch?
This recipe allows for some creativity, so feel free to experiment with different seasonings to suit your taste buds. I sometimes use a mix of herbs and spices to give the nuggets an extra kick. The beauty of homemade nuggets is that you can customize them to your liking, making each batch a unique culinary creation!
One thing I’ve learned over the years is that homemade always trumps store-bought when it comes to flavor and freshness. While convenience is great, there’s something truly special about biting into a nugget that you’ve crafted with love. So, trust me when I say, once you try these Homemade Chicken Nuggets, you’ll never look back!
So, are you ready to embark on a culinary journey that will tantalize your taste buds and warm your soul? Grab your apron, preheat that oven, and let’s dive into the delicious world of Homemade Chicken Nuggets!
Ingredients
For this recipe, you’ll need:
– Boneless, skinless chicken breasts (or thighs) cut into bite-sized pieces
– All-purpose flour
– Eggs
– Breadcrumbs (Panko works great for extra crunch!)
– Salt, pepper, and your choice of seasonings
– Vegetable oil for frying
I sometimes use whole wheat breadcrumbs for a healthier twist, and they work just as well. Feel free to play around with different types of breadcrumbs to find your favorite. My grandmother always insisted on using seasoned breadcrumbs, but honestly, any variety will do the trick!
Don’t worry if you’re out of eggs; you can create a crispy coating using buttermilk or even a mixture of mustard and honey. The key is to get creative and make the recipe your own. Cooking is all about experimentation and finding what works best for your palate!
Now, let’s gather our ingredients and get ready to embark on a flavorful journey to nugget perfection!
Directions
1. Start by preheating your oven to 400°F (200°C) and preparing a baking sheet with parchment paper.
2. In three separate bowls, place the flour, beaten eggs, and breadcrumbs mixed with your desired seasonings.
3. Coat each chicken piece in flour, then dip into the beaten eggs, and finally coat with the seasoned breadcrumbs. Make sure each piece is evenly coated for maximum crispiness!
4. Heat vegetable oil in a skillet over medium heat and fry the nuggets until golden brown and cooked through.
5. Transfer the fried nuggets onto the prepared baking sheet and bake in the oven for an additional 10-15 minutes to ensure they are cooked to perfection.
6. Once done, serve your Homemade Chicken Nuggets hot and crispy alongside your favorite dipping sauces or sides. Enjoy the crunchy goodness!
This is where I usually sneak a taste to ensure the nuggets are seasoned just right. Don’t worry if it looks a bit weird at this stage – trust me, they’ll turn out golden and delicious in the end!
Notes

Through trial and error, I’ve found that maintaining the oil at the right temperature is crucial for achieving crispy nuggets. Too hot, and they’ll burn; too cold, and they’ll turn greasy. So, keep an eye on the oil and adjust the heat as needed.
One handy tip I’ve discovered is to place the coated nuggets in the fridge for about 30 minutes before frying. This helps the coating adhere better to the chicken, resulting in a crunchier texture once cooked.
Feel free to get creative with your seasonings and coatings. Whether you prefer a classic blend of salt and pepper or a more adventurous mix of spices, don’t be afraid to experiment and find your perfect flavor profile!
Remember, cooking is all about having fun and exploring new tastes, so don’t be too hard on yourself if your nuggets don’t turn out perfect the first time. Every kitchen mishap is a learning opportunity!
Variations
As an avid experimenter in the kitchen, I’ve tried various twists on the classic Chicken Nuggets recipe. One variation that didn’t quite hit the mark was using cornflake crumbs instead of traditional breadcrumbs. While the texture was interesting, the flavor didn’t quite complement the chicken as I had hoped.
On the bright side, I’ve had success adding a hint of smoked paprika to the breadcrumb mixture for a subtle smoky flavor. It’s these little experiments that keep the kitchen exciting and the taste buds intrigued!
Remember, cooking is all about finding what works best for you, so don’t be afraid to think outside the box and create your own signature nugget recipe!
Equipment
If you don’t have a deep fryer, fear not! A sturdy skillet or frying pan works just as well for achieving perfectly crispy Homemade Chicken Nuggets. Remember to use a thermometer to monitor the oil temperature for the best results.
For those without parchment paper, a lightly greased baking sheet will do the trick. Cooking is all about improvising with what you have on hand, so don’t let the lack of a specific tool deter you from creating culinary magic!
Storage Information
Though honestly, in my house, these nuggets never last more than a day! However, if you happen to have leftovers, store them in an airtight container in the refrigerator. To reheat, simply pop them in the oven for a few minutes to restore their crispiness.
Remember, Homemade Chicken Nuggets are best enjoyed fresh, so try to consume them soon after cooking for the ultimate taste experience!
Serving Suggestions
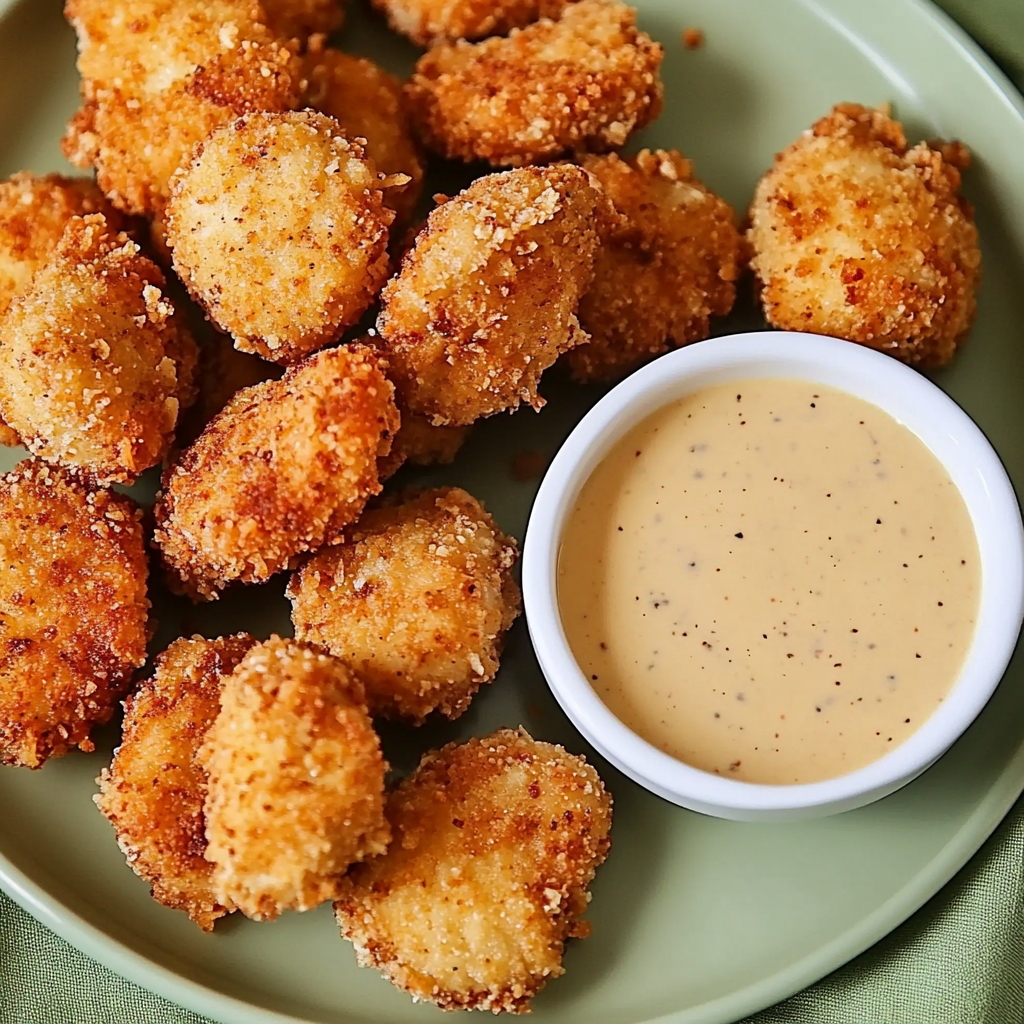
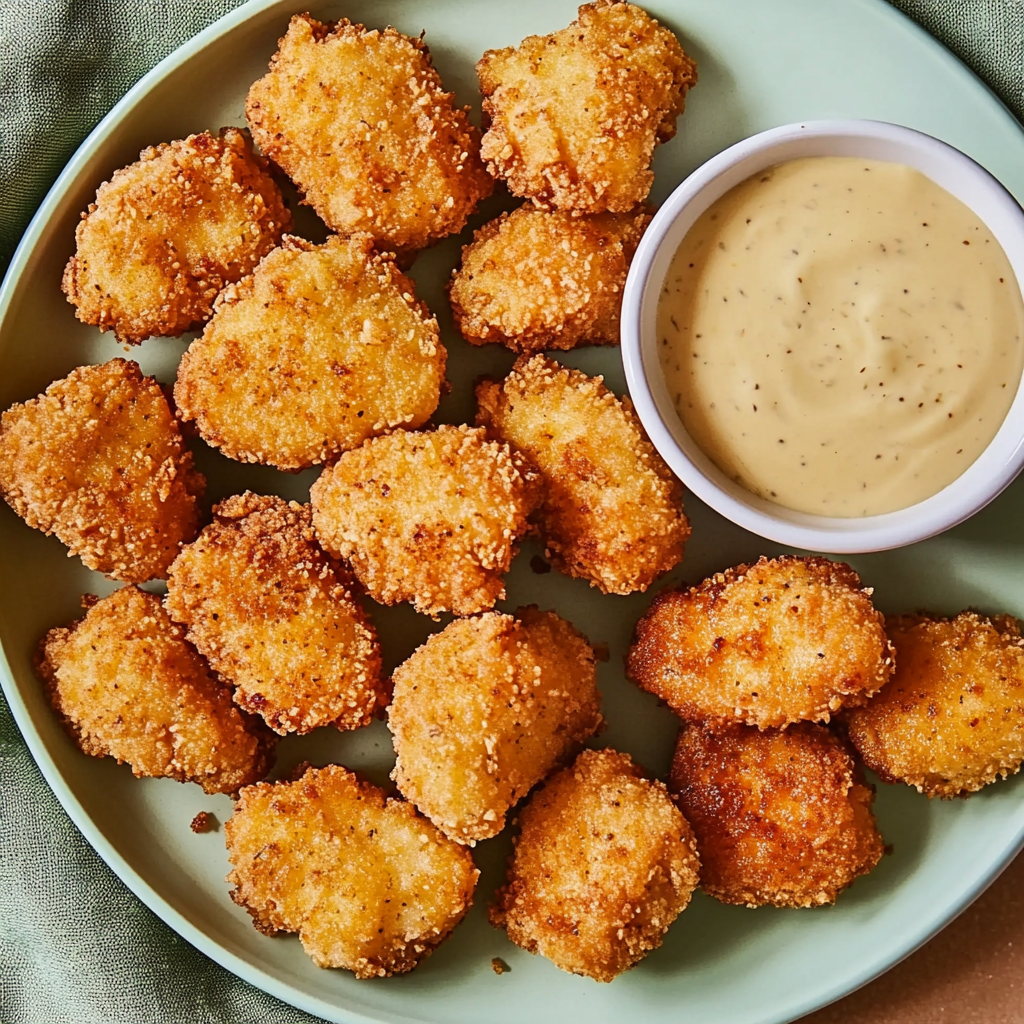
When serving these delectable nuggets, I love pairing them with a tangy honey mustard dip or a classic ketchup. The combination of crispy nuggets and flavorful dips is a match made in culinary heaven!
For a complete meal, consider serving the nuggets alongside a fresh garden salad or some crispy fries. The contrast of textures and flavors will take your taste buds on a delightful journey of satisfaction!
Whether you’re hosting a casual gathering or simply treating yourself to a comforting snack, these Homemade Chicken Nuggets are sure to be a hit. So, gather your loved ones, set the table, and enjoy a meal that’s made with love and shared with joy!
Pro Tips
Through trial and error, I’ve learned that patience is key when it comes to achieving the perfect golden crust on these nuggets. Rushing the frying process can result in uneven browning and undercooked chicken, so take your time and enjoy the cooking journey!
I once tried skipping the step of chilling the coated nuggets before frying, and let me tell you, it was a messy disaster! Chilling helps the coating set and adhere properly, ensuring a crispy finish that will have you coming back for more.
So, remember, cooking is a delightful blend of art and science, and every little detail counts when it comes to creating culinary masterpieces. Embrace the process, savor the flavors, and most importantly, have fun in the kitchen!
FAQ
Q: Can I bake these nuggets instead of frying them?
A: Absolutely! To bake the nuggets, simply place them on a lined baking sheet and bake in a preheated oven at 400°F (200°C) for about 20-25 minutes, turning halfway through for even cooking.
Q: Can I freeze these nuggets for later consumption?
A: Yes! Once cooked, allow the nuggets to cool completely, then transfer them to a freezer-safe container. To reheat, bake them in the oven until heated through and crispy.
Q: Can I use ground chicken instead of chicken pieces?
A: Of course! Ground chicken works well for nuggets and can be seasoned and shaped into bite-sized portions before coating and cooking. Feel free to experiment and find what works best for you!
Remember, cooking is all about exploration and discovery, so don’t hesitate to try new methods and ingredients to make the recipe your own!
Homemade Chicken Nuggets
Create crispy and flavorful Homemade Chicken Nuggets that are sure to delight both kids and adults. This recipe offers a nostalgic bite with a crunchy coating and tender chicken inside, perfect for a family cooking adventure or a cozy snack.
Ingredients
- 2 boneless, skinless chicken breasts (or thighs), cut into bite-sized pieces
- 1 cup all-purpose flour
- 2 eggs, beaten
- 1 cup breadcrumbs (Panko for extra crunch)
- Salt and pepper to taste
- Your choice of seasonings
- Vegetable oil for frying
Directions
-
Preheat the oven to 400°F (200°C) and prepare a baking sheet with parchment paper.
-
Place flour, beaten eggs, and breadcrumbs mixed with seasonings in three separate bowls.
-
Coat each chicken piece in flour, then dip in eggs, and coat with seasoned breadcrumbs.
-
Fry the nuggets in vegetable oil until golden brown and cooked through.
-
Transfer the fried nuggets to the prepared baking sheet and bake for an additional 10-15 minutes.
-
Serve hot and crispy with your favorite dipping sauces or sides.