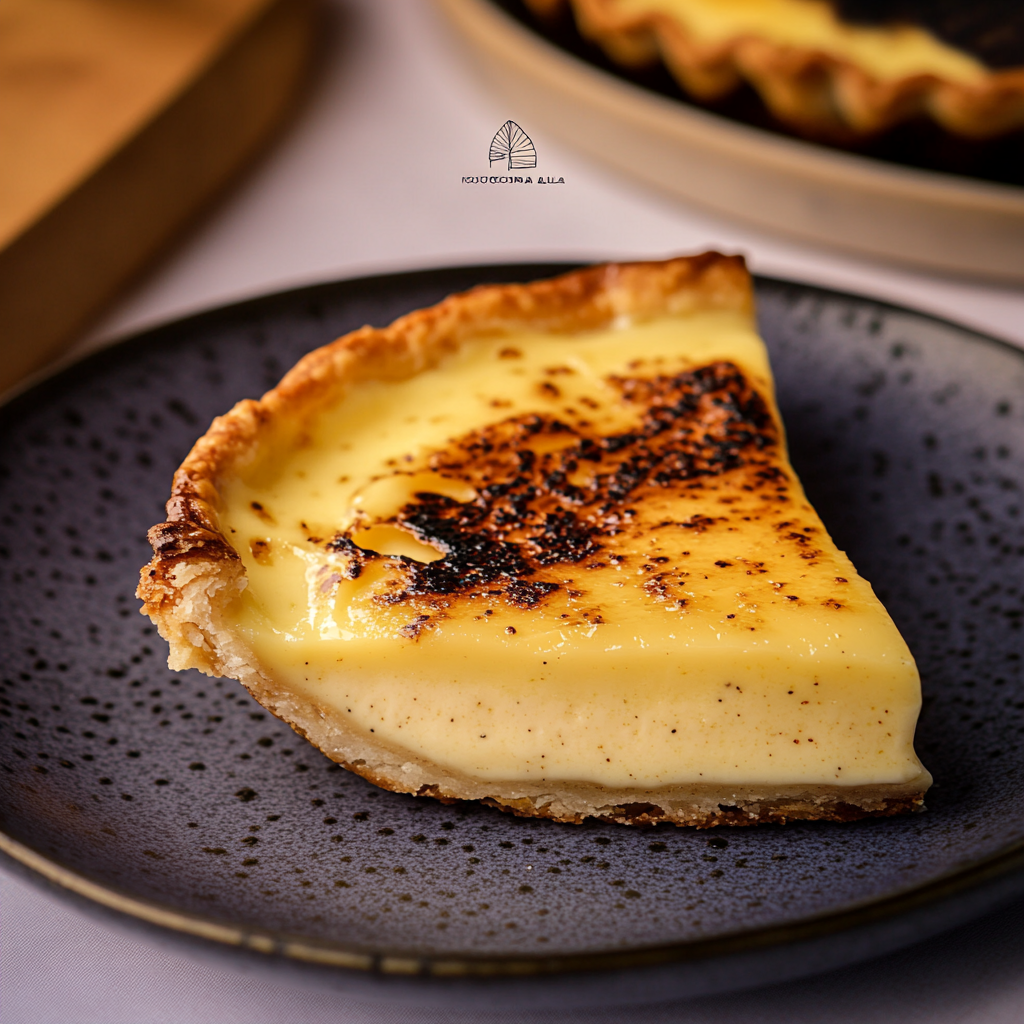
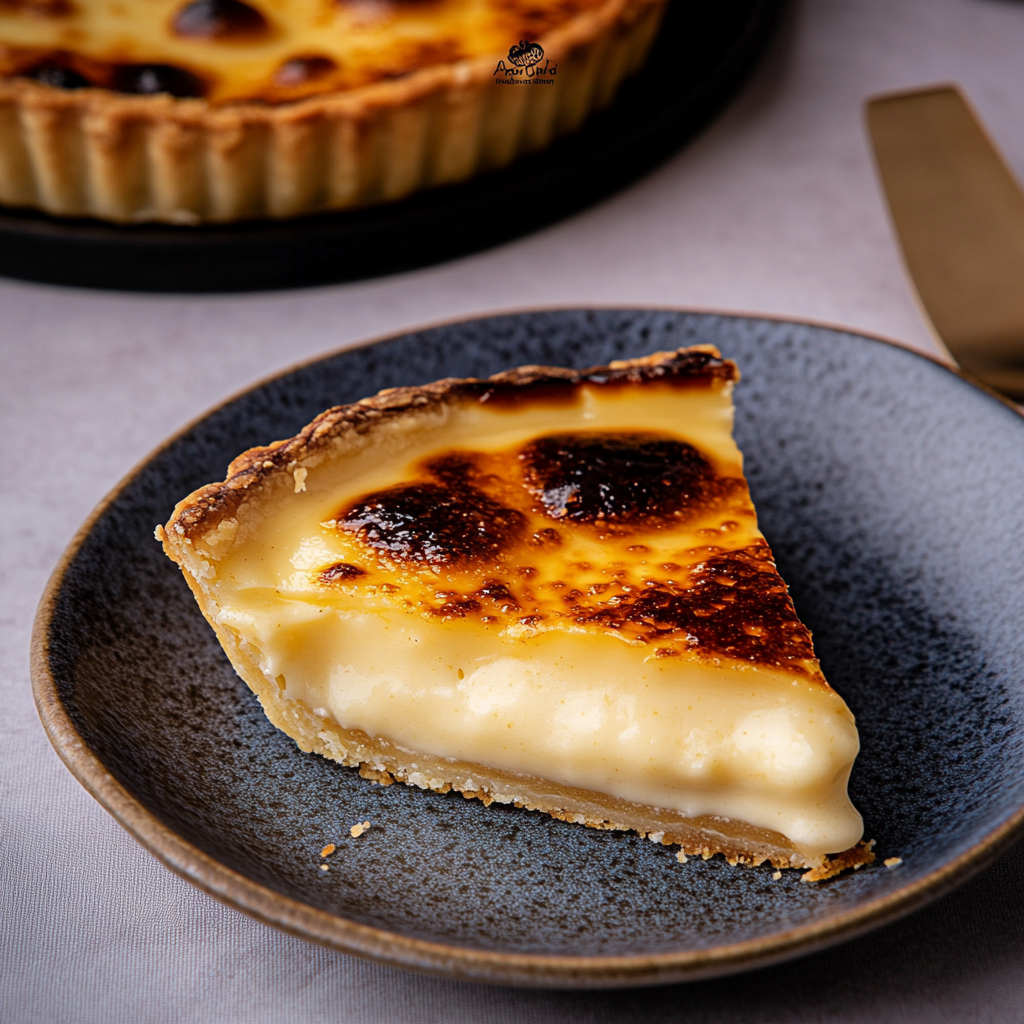
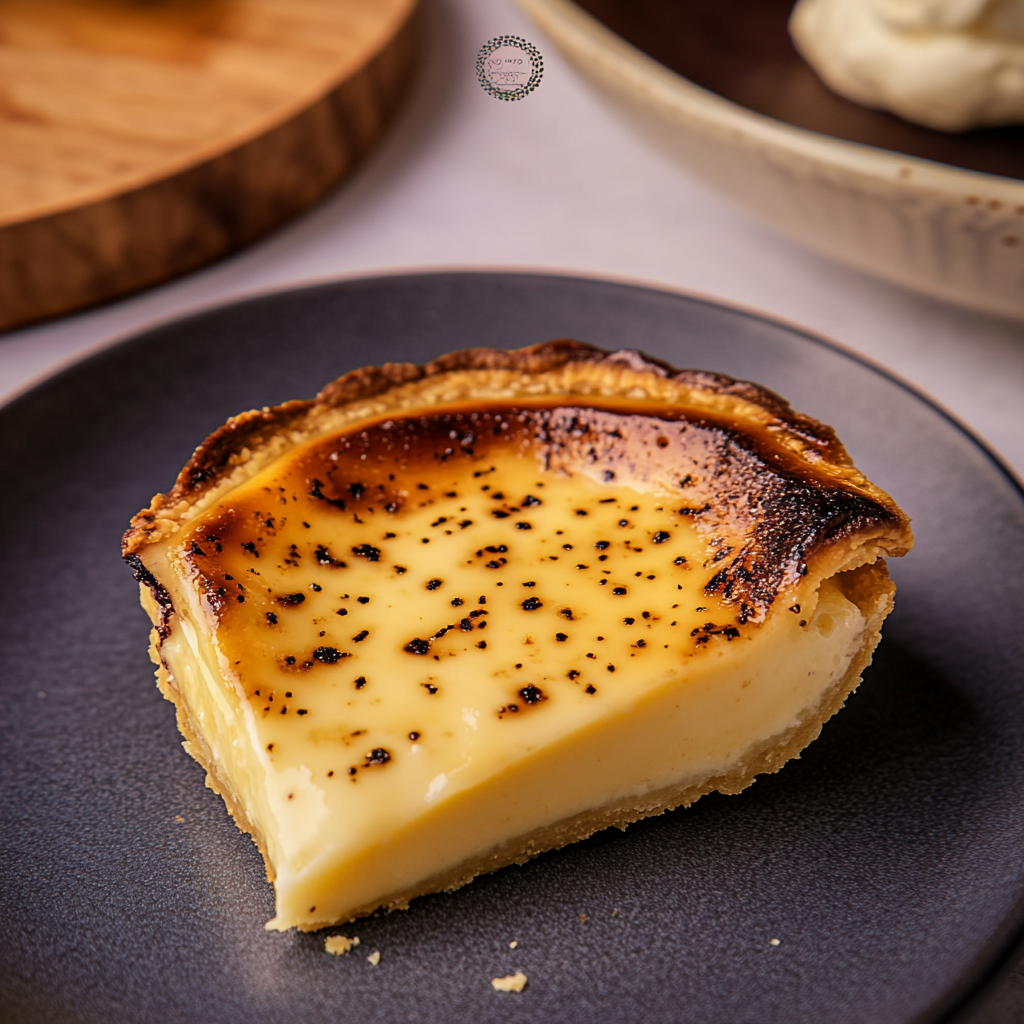
Hey there! Let’s talk about Burnt Cheese Tart. This delightful treat has a unique flavor that keeps you coming back for more. Picture this: a crispy, slightly charred exterior giving way to a gooey, cheesy center that’s both sweet and savory. It’s a taste sensation that’s hard to resist!
Why You’ll Love Burnt Cheese Tart
I make this when I want a dessert that’s a bit different from the usual sweet options. My family goes crazy for this because it hits the spot whether you’re craving something sugary or savory. Plus, the burnt cheese adds a hint of smokiness that elevates the whole experience.
For this recipe, you’ll need a handful of simple ingredients that come together to create magic. I sometimes switch up the type of cheese I use based on what’s in my fridge, and it always turns out fantastic. Feel free to experiment with different cheeses to find your perfect flavor combination!
Directions for Making Burnt Cheese Tart
Start by preheating your oven and preparing your tart crust. As you mix the cheese filling, don’t be alarmed if it looks a bit lumpy or uneven – that’s all part of the charm. This is where I usually sneak a taste to adjust the sweetness or cheesiness to my liking.
Once your tart is in the oven, keep an eye on it as it bakes to perfection. The edges should be beautifully caramelized, giving that irresistible burnt flavor. Don’t worry if it looks a bit weird at this stage – it always does! Trust the process, and you’ll be rewarded with a decadent dessert.
Notes on Burnt Cheese Tart
Through trial and error, I’ve discovered that letting the tart cool slightly before serving enhances the flavors. The contrast between the warm, gooey center and the crispy crust is a game-changer. Though honestly, in my house, it never lasts more than a day!
Variations and Serving Suggestions
One variation I’ve tried is adding a drizzle of honey on top before serving for an extra touch of sweetness. However, I once experimented with a spicy version that didn’t turn out as expected – lesson learned! For serving, a dollop of whipped cream or a scoop of vanilla ice cream complements the tart beautifully.
Pro tip: I once tried rushing the cooling process and regretted it because the tart lost some of its gooey texture. Patience is key when it comes to achieving the perfect burnt cheese tart!
So there you have it – a guide to creating a delicious Burnt Cheese Tart that will impress your friends and family. Get creative, have fun in the kitchen, and enjoy every cheesy, burnt bite!